
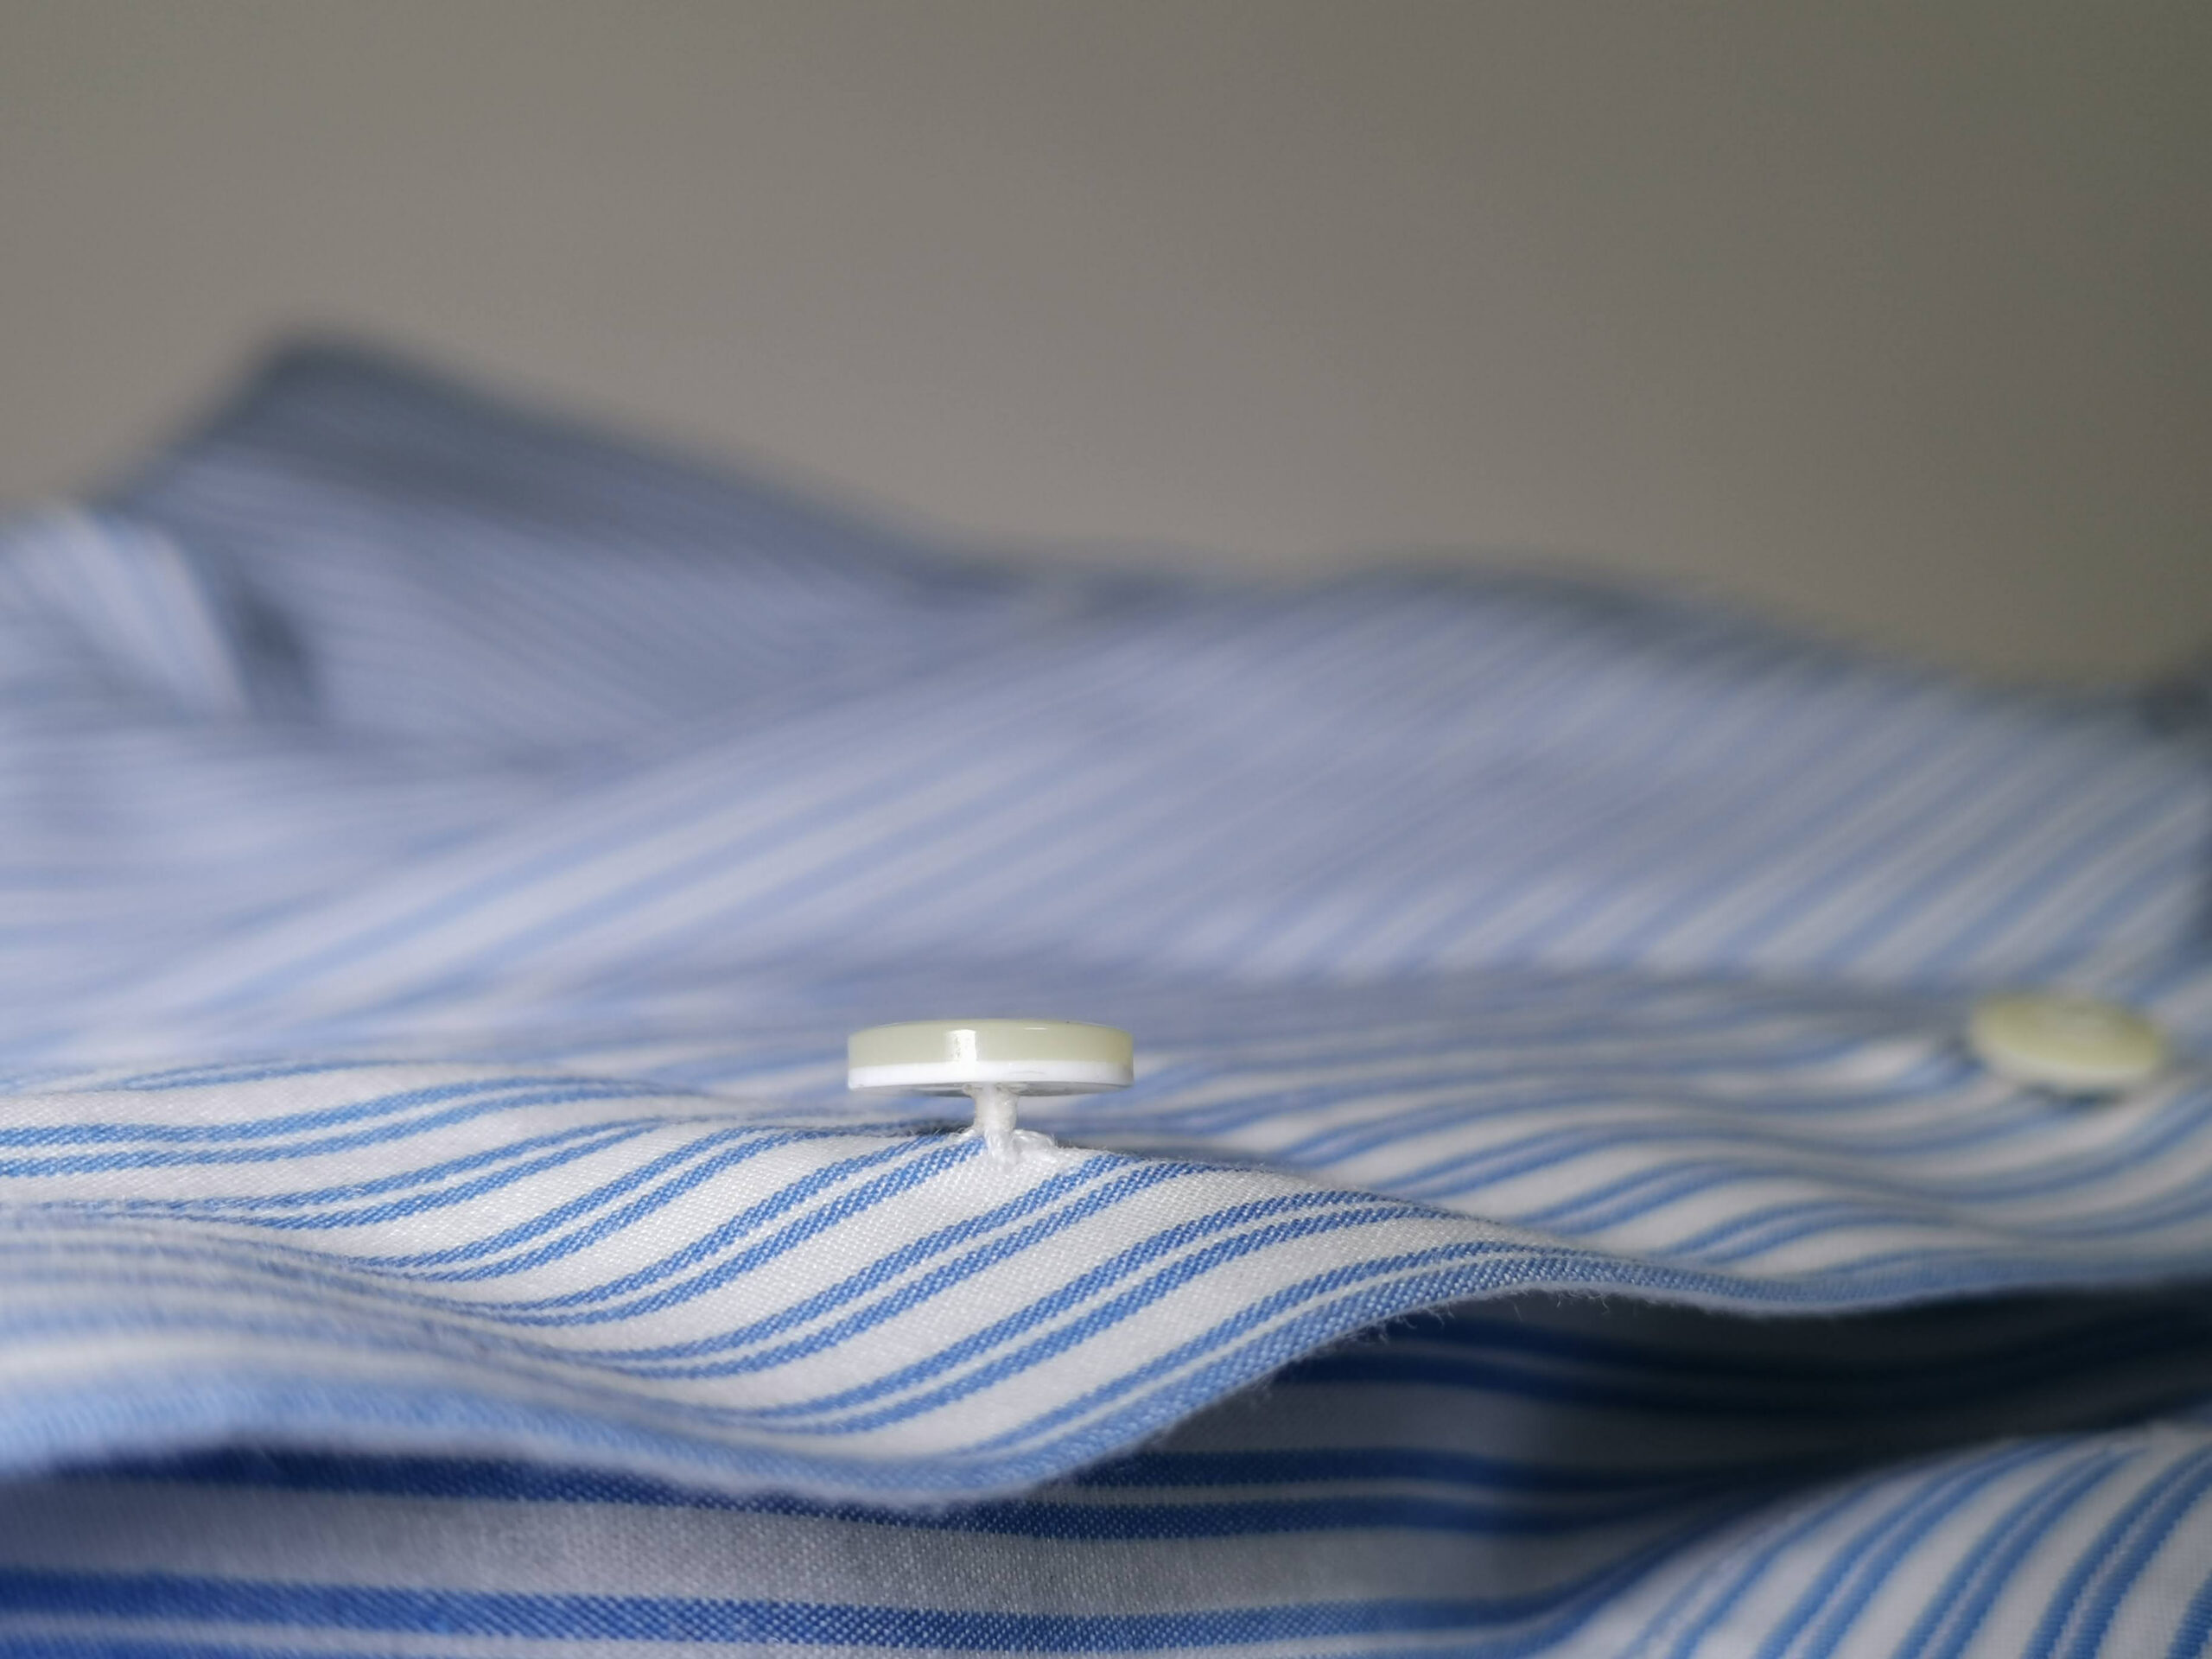
Buttons are one of the most important functional components of a shirt. While they may seem like a small detail, the way they are attached directly affects the garment’s durability, appearance, and ease of use. In this article we’ll guide you though how to attach a shirt button including how to maintain a 2-3mm gap for optimal functionality and how a heat seal wrapping process can be used afterwards to keep the button securely in place for a professional durable finish.
Step 1: Attach the button
The first step is to attach the button using a standard button sewing machine. It is essential to leave a 2–3 mm gap between the underside of the button and the shirt fabric. This small amount of clearance is crucial because it:
- Allows the button to move freely when fastening and unfastening the shirt making buttoning easier especially on thicker plackets or layered fabrics.
- Prevents the fabric from splaying around the buttonhole, helping the shirt maintain a neat, professional appearance.
- Provides enough space for button wrapping, which will be covered in the following steps.
If a button is sewn too tightly against the fabric, it can become difficult to fasten and unfasten. It may also cause the fabric to pucker, place unnecessary strain on the thread, and reduce the overall lifespan of the button attachment.
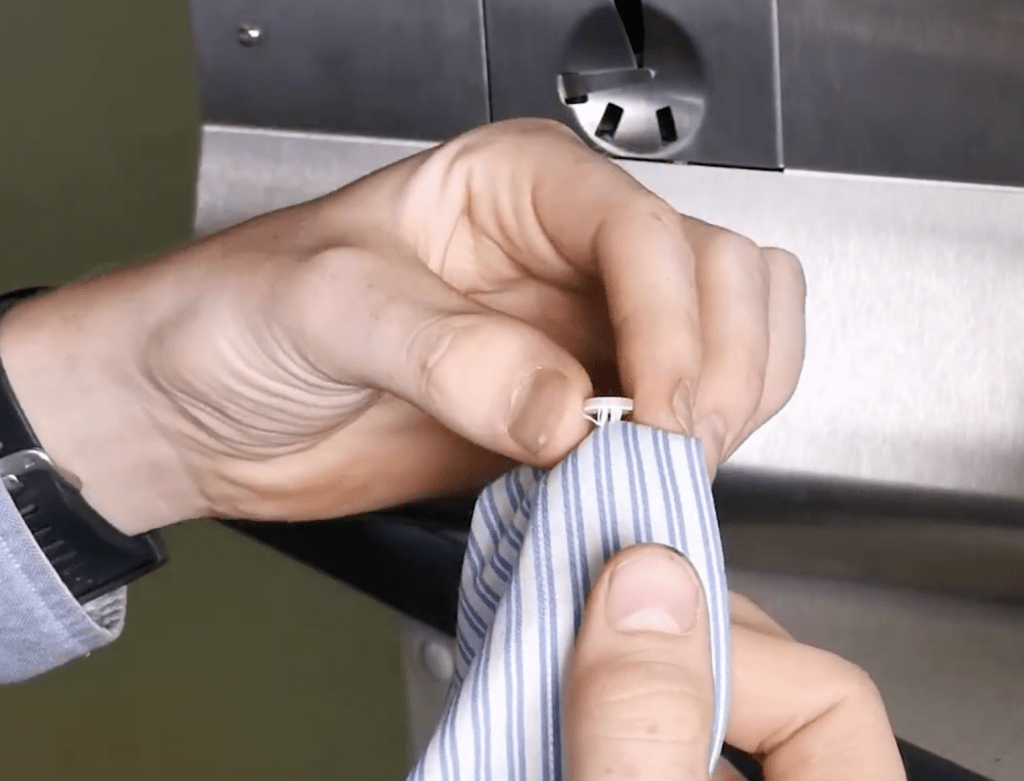
Step 2: Apply Heat-Sealed Wrapping
Once the button has been correctly attached, apply the heat-sealed wrapping around the shank (neck) of the button.
This additional wrapping provides several important benefits:
- Prevents the main sewing threads from unravelling, ensuring the button remains securely fastened, reducing the risk of it becoming loose or detaching during the garment’s lifetime.
- Creates a neat, clean, and professional finish, enhancing the overall appearance of the garment.
The heat-sealing process should be carried out using the correct number of wraps to achieve a secure and consistent finish. For shirt buttons, we recommend 8 to 10 wraps, which provide the ideal balance of strength and appearance. This helps create a durable, high-quality bond that keeps the sewing threads securely in place while delivering a clean, professional finish.